Newly purchased computers and laptops usually come with one disk drive, but from a practical point of view, very often we need this drive to be partitioned in one or more partitions as separate units of one single disk drive. Thus, we may dedicate one partition for our multimedia files (mp3’s, movies etc), one partition for data files and so on.
There are so many tools for basic disk operations available on the Internet and some of them can be found and used for free. Luckily, Windows 7 has a Disk Management Tool as a built-in feature of the OS itself.
In this article you will learn how to create partitions using this tool.
Making necessary preparations
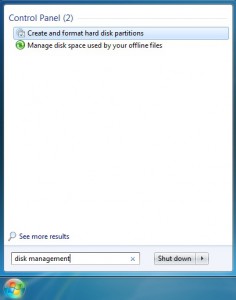
From the Windows Start menu, type “Disk Management” in the Search field and then press Enter:
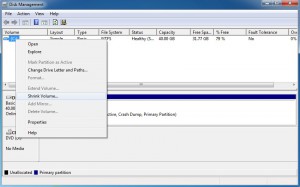
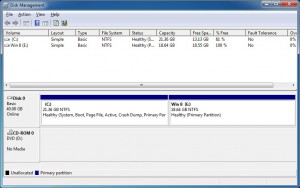
When a Disk Management window opens, you may see the properties of your C drive like: File system, Capacity, Free space etc. Next, right click on drive C and from the submenu choose Shrink Volume:
System will make a query of the volume for available shrink space…
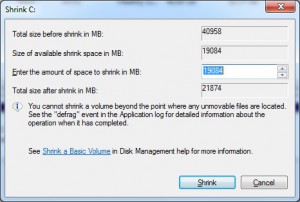
After the query, you will see a new window where you need to input how much space you want for the new partition. System usually provides the maximum available space for shrinking, but you can choose to decrease this amount according to your needs:
Now click Shrink button. This operation might take couple of minutes, depending on the size of the disk.
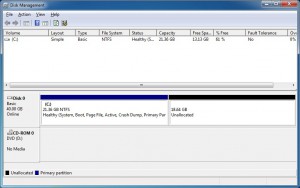
After the process is complete, in the Disk Management console you will notice the “Unallocated space”.
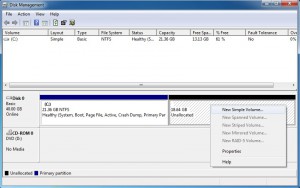
Next is creating a new volume. Therefore right click on Unallocated space and choose New simple volume.
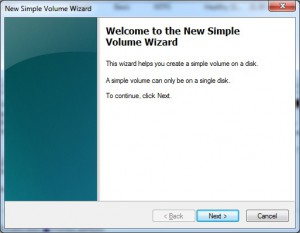
Windows will start a separate Wizard for this purpose.
Create New Simple Volume using Wizard
On the welcome screen click Next:
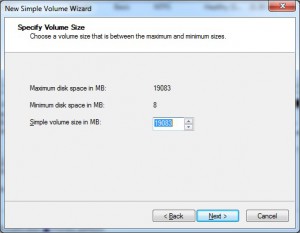
On the next window ‘Specify Volume Size’, just accept default values and click Next.
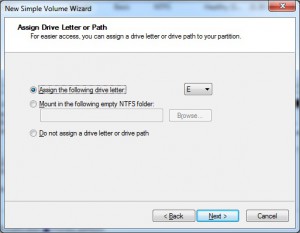
On the ‘Assign drive letter or path’, accept defaults and click Next.
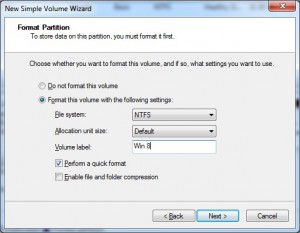
On the next window ‘Format partition’, before you click Next you may type different Volume label.
For example: you may type “Data” if you want to store all non-system files on the newly created partition, or “Win 8” if you want to install Windows 8 as a second operating system alongside your Windows 7.
This is just description and basically does not make any difference.
On the next window click Finish.
System will do all necessary operations and finally you will see newly created partition E: in the Disk Management Console.
Process is over. You have partitioned drive C into 2 partitions.

